Cutting Corners Design is now called Bags and Seams Design!

Author
Sarah is a successful pattern designer for bags, the founder of Bags and Seams Design, and a BERNINA instructor. With great passion, she helps beginners discover their enthusiasm for sewing bags. In her high-quality courses, she teaches the necessary skills step by step and ensures motivating sewing experiences with tangible results.
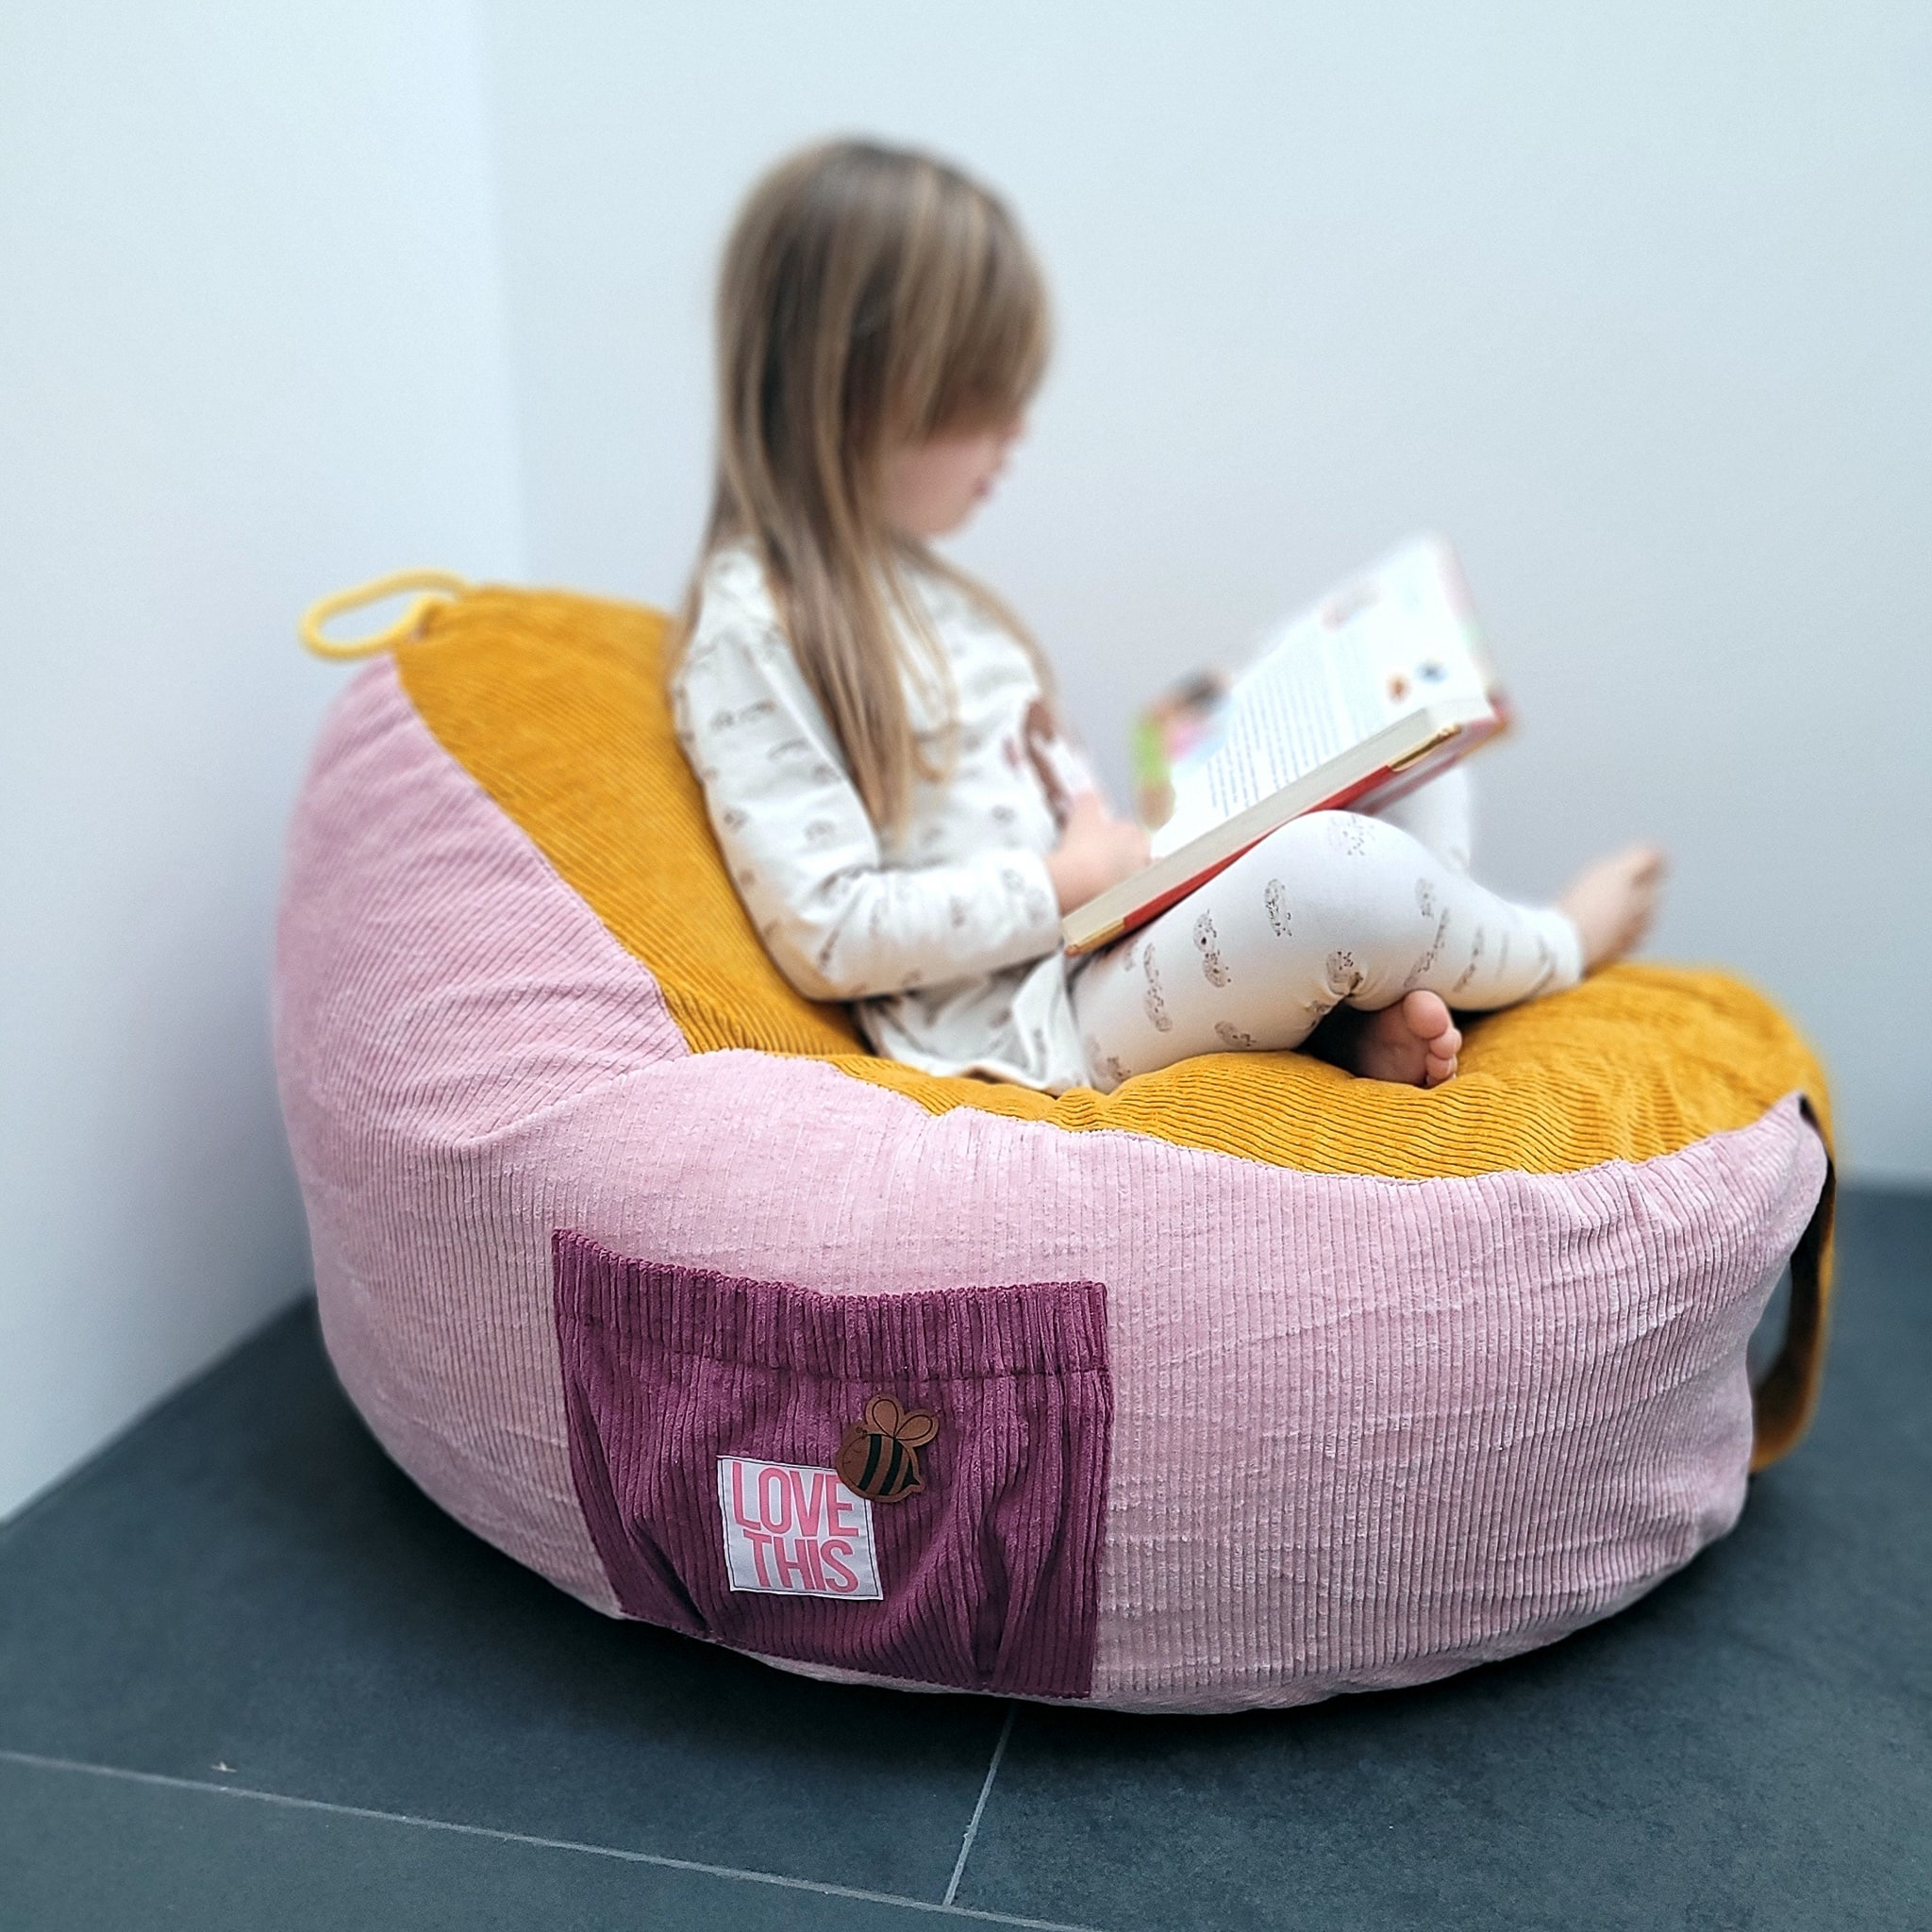
Rope sewing is a great technique for quickly and easily creating beautiful projects. It’s perfect for beginners or for little DIY projects to work on in your spare time.
To make your rope basket, you’ll need:
* About 3 to 5 m of cotton or macramé cord (depending on the desired size). Cotton cord is usually particularly easy to shape and sew.
* Rope thickness: approx. 3 to 6 mm
* Sturdy polyester sewing thread
* Universal needle, size 90
* Sewing machine with a zigzag stitch
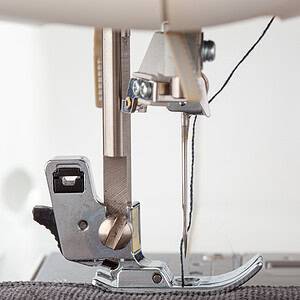
* Open or transparent zigzag presser foot
* Fabric scissors
* A few pins or clips
* Optional: strips of fabric, faux leather labels, or woven ribbon for decoration
First, set your sewing machine to approximately the following settings:
* Stitch type: Zigzag stitch
* Stitch width: approx. 5 to 5.5 mm
* Stitch length: approx. 2.3 to 3 mm
* Needle position when stopping: down, if your machine has this feature
* Sewing speed: slow to medium
The exact stitch width depends on the thickness of your rope. The zigzag stitch must catch both adjacent strands of rope with each stitch. Therefore, sew a small test piece first.
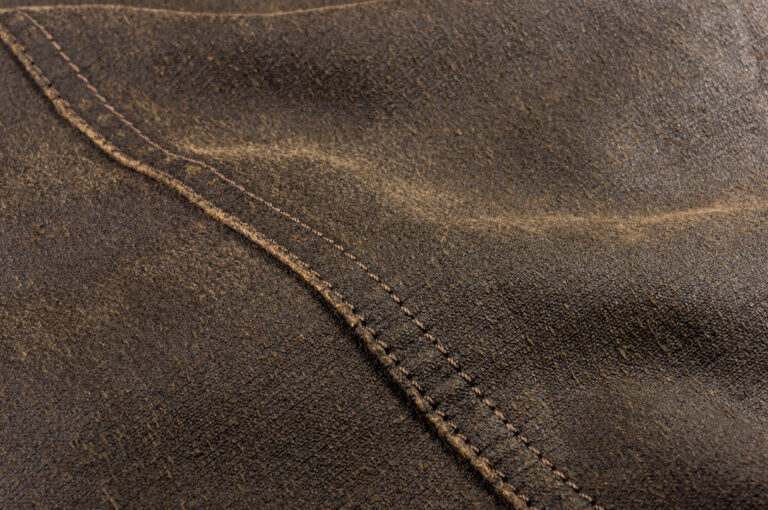
Oilskin entsteht, indem meist dicht gewebte Baumwolle mit Öl oder Wachs imprägniert wird. Dadurch wird der Stoff wasserabweisender, robuster und bekommt seine typische griffige Oberfläche und den charakteristischen Used-Look.
So let’s get started with sewing. Make sure you’ve already selected the correct width for your zigzag stitch and that there’s enough thread on the upper and lower bobbins. Rope sewing uses quite a lot of thread.
Qualitativ hochwertigen Oilskin erkennst du am gleichmässigen Gewebe, an einer gleichmässigen Imprägnierung und an klaren Herstellerangaben.
Kurz gesagt: Er verzeiht viele Fehler, lässt sich sehr einfach zuschneiden und vernähen und sieht optisch immer toll aus! Ausserdem ist er wasserabweisend und umweltteschnisch deutlich besser als PVC beschichtetes Kunstleder.
Klassisches Oilskin bekommt mit der Zeit Patina: Knicke, helle Kratzspuren, ein lebendiger Glanz. Eine leicht schiefe Steppnaht fällt auf so einer Oberfläche weit weniger auf als auf glatter, heller Baumwolle. Und weil Oilskin von Anfang an „benutzt“ aussehen darf, ist die erste Delle kein Drama.
Das ist eine Stilfrage, aber eine, die viele Anfängerinnen beschäftigt: Oilskin wirkt wertig und erwachsen. Eine schlichte Form reicht, damit die Tasche nach Laden aussieht und nicht nach Bastelprojekt.
Ausserdem ist er perfekt für Taschen geeignet: denn Oilskin ist wasserabweisend. Ein Regenschauer auf dem Weg zum Bus macht ihm nichts aus. Wasserdicht im Sinne von „kann man untertauchen“ ist er aber nicht, und bei Dry Oilskin perlt das Wasser laut Hersteller auch nicht vollständig ab. Es dringt aber nicht durch.
Du kannst ihn einfach zuschneiden, Nahtzugaben mit der Hand umknicken ohne zu bügeln und richtig tolle Ecken damit erziehlen – Oilskin ist ein wahnsinnig guter Stoff um Zeit zu sparen mit tollen Ergebnissen!
If you're just getting started with rope sewing, you'll find important information and details about working with rope and your sewing machine in my blog post, "Rope Sewing: Sewing Creative Baskets, Bowls, and Bags with Rope, Thread, and a Sewing Machine."
Direkte, starke Hitze auf der rechten Seite schadet der Imprägnierung. Darum raten die Hersteller davon ab, Oilskin wie Baumwolle zu bügeln. Für Nähte brauchst du das Bügeleisen ohnehin nicht. (Vlies aufbügeln ist eine andere Sache, dazu mehr bei Regel 3.)
So presst du mit dem Finger:
1. Nahtzugabe aufklappen oder zur Seite legen.
2. Mit dem Fingernagel mehrmals fest entlang der Naht streichen.
3. Für schärfere Kanten ein Falzbein oder den Rücken eines Holzlöffels nehmen.
4. Bei breiten Nahtzugaben knappkantig absteppen, dann bleiben sie dauerhaft flach.
Jeder Stich mit einer Stecknadel bleibt als kleines Loch sichtbar. Stoffklammern (oft „Wonder Clips“ genannt) halten die Lagen zusammen, ohne zu stechen. Wenn du doch einmal stecken musst, dann nur innerhalb der Nahtzugabe.
Musst du eine Naht auftrennen: Bei klassischem Oilskin kannst du die Nadellöcher mildern, indem du den Stoff zwischen den Fingern reibst. Beim Dry Oilskin ist das weniger möglich, aber je nach Stoff auch gut machbar.
Schwerer Oilskin bringt viel Stand mit, bei vielen Taschen reicht das. Bevor du Vlies einplanst, frag dich also: Brauche ich das an dieser Stelle wirklich?
Wenn ja, lässt sich Vlies auf Oilskin gut aufbügeln:
1. Immer zuerst an einem Rest deines Oilskins testen, mit genau dem Vlies, das du verwenden willst.
2. Von der linken Seite bügeln, mit Bügeltuch dazwischen. Bei Heavy Oilskin habe ich immer ein Backpapier unter dem Stoff sowie über dem Oilskin um mein Bügeleisen zu schonen, denn bei der Wärme tritt doch immer etwas Wachs aus.
3. Temperatur und Bügelzeit nach Angabe des Vlies-Herstellers, drücken statt schieben.
4. Auskühlen lassen und prüfen: Hält das Vlies? Hat sich die rechte Seite verändert?
5. Auf Qualität achten, bei Oilskin und beim Vlies.
Isn’t this a great DIY project? I love working on it and all the creative possibilities it offers!
If you enjoyed the free book, feel free to check out my Instagram or Facebook page, or discover more sewing patterns in my shop!
Warm regards,
Sarah
Lade dir das kostenlose Oilskin-Infosheet herunter: mit allen Informationen die du benötigst um mit Oilskin zu arbeiten.
To make sure your rope basket turns out nice and even and is easy to sew, I’ve put together my top tips for you here.
The zigzag stitch should always catch both adjacent strands of rope. If the needle catches only one strand, increase the stitch width; if your sewing machine cannot achieve the desired width, use a slightly thinner rope.
To prevent any gaps from forming, the new rope should always lie close to the previously sewn loop. Use the center of your presser foot as a guide and position it as precisely as possible over the junction between the two strands of rope.
To prevent the fabric from buckling, make sure it lies completely flat on the sewing surface while you sew. Do not pull on the cord, and let the sewing machine feed the fabric as evenly as possible. Also make sure the cord can be pulled through the sewing machine smoothly and that there are no knots.
As soon as you start sewing the sides, lift the bottom slowly and evenly. The steeper the angle, the straighter the sides of your basket will be. Be sure to keep the angle as constant as possible while sewing.
If your sewing machine has trouble feeding the cord, reduce the speed and check to see if there is enough space under your presser foot for the cord’s thickness. Very thick, stiff, or hard cords are not suitable for every household sewing machine.
Especially when sewing the small initial spiral, your fingers can quickly get too close to the needle. So sew slowly and keep turning the cord carefully. And yes… I speak from experience!
Do not force the basket through the machine by pulling or pushing it. Guide it gently and let the feed mechanism do the work.
Because the material is so stiff, the needle is subjected to greater stress during rope sewing. Therefore, check it periodically and replace it as soon as it becomes dull or bent.