Cutting Corners Design is now called Bags and Seams Design!

Author
Sarah is a successful pattern designer for bags, the founder of Bags and Seams Design, and a BERNINA instructor. With great passion, she helps beginners discover their enthusiasm for sewing bags. In her high-quality courses, she teaches the necessary skills step by step and ensures motivating sewing experiences with tangible results.
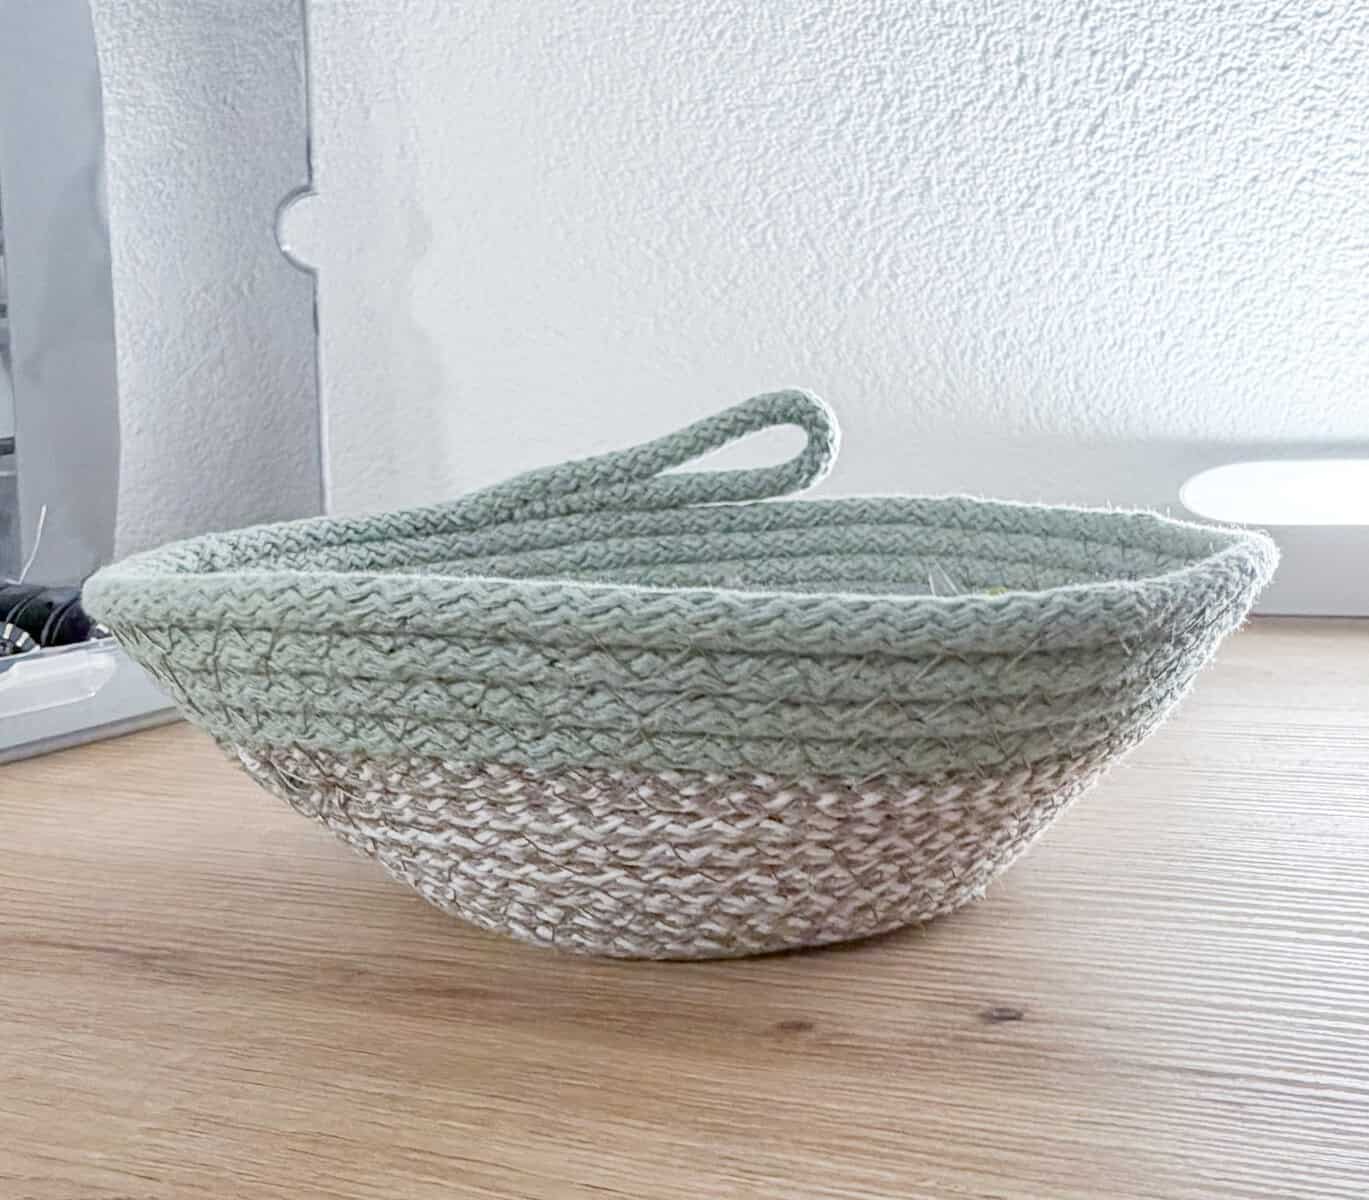
Rope sewing is a great technique for quickly and easily creating beautiful projects. It’s perfect for beginners or for little DIY projects to work on in your spare time.
If you're just getting started with rope sewing, you'll find important information and details about working with rope and your sewing machine in my blog post, "Rope Sewing: Sewing Creative Baskets, Bowls, and Bags with Rope, Thread, and a Sewing Machine."
Using the rope-sewing technique, you can sew a sturdy little basket from a simple cotton cord. To do this, wind the cord into a spiral and sew it together with a wide zigzag stitch. This technique is also suitable for bowls, coasters, and larger rope baskets.
.
To make your rope basket, you’ll need:
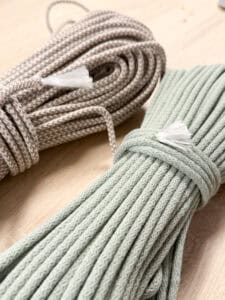
* About 3 to 5 m of cotton or macramé cord (depending on the desired size). Cotton cord is usually particularly easy to shape and sew.
* Rope thickness: approx. 3 to 6 mm
* Sturdy polyester sewing thread
* Universal needle, size 90
* Sewing machine with a zigzag stitch
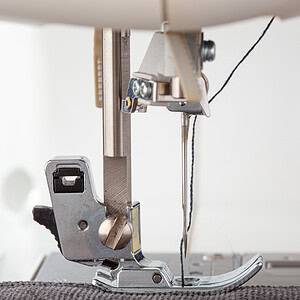
* Open or transparent zigzag presser foot
* Fabric scissors
* A few pins or clips
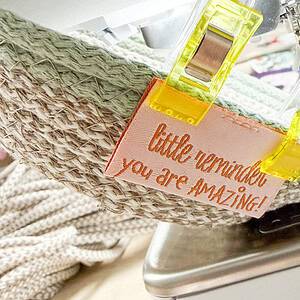
* Optional: strips of fabric, faux leather labels, or woven ribbon for decoration
First, set your sewing machine to approximately the following settings:
* Stitch type: Zigzag stitch
* Stitch width: approx. 5 to 5.5 mm
* Stitch length: approx. 2.3 to 3 mm
* Needle position when stopping: down, if your machine has this feature
* Sewing speed: slow to medium
The exact stitch width depends on the thickness of your rope. The zigzag stitch must catch both adjacent strands of rope with each stitch. Therefore, sew a small test piece first.
So let’s get started with sewing. Make sure you’ve already selected the correct width for your zigzag stitch and that there’s enough thread on the upper and lower bobbins. Rope sewing uses quite a lot of thread.
Cut the end of the rope cleanly and as straight as possible.
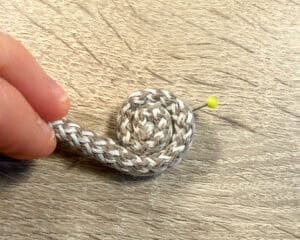
Next, roll the rope tightly into a small coil. Wrap it around about three to four times, and carefully secure the coil with pins.
The little snail should be about 2 to 3 cm long. Starting with a neat, tight coil will make the first few stitches easier.
Place the rope spool under the presser foot. The long piece of rope that hasn’t been sewn yet should extend out the side of the machine and be able to unroll without getting tangled.
Start by sewing slowly across the center of the snail. You can sew a small cross or start right away with a zigzag stitch along the spiral.
Secure the beginning with a few backstitches and forward stitches.
The first few rounds are a bit tricky. Stop regularly with the needle in the cord, lift the presser foot, and carefully continue turning the small spiral.
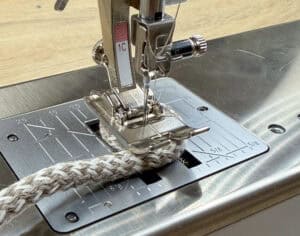
Always keep the loose rope close to the spiral you’ve already sewn.
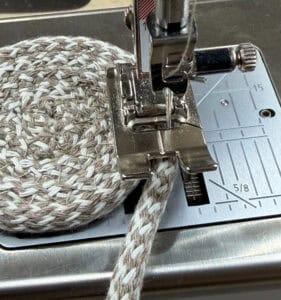
The center of the presser foot runs exactly between the two strands of cord. This way, the needle alternately pierces the strand that has already been sewn and the newly laid strand.
Continue sewing slowly all around. Keep the rope spiral completely flat on the sewing surface as you do so.
Make sure that:
* there are no gaps between the strands of rope
* the rope does not overlap
* the base remains flat
* the zigzag stitch securely grips both strands of rope
Continue sewing until the bottom of your piece is about 8 to 10 cm in diameter.
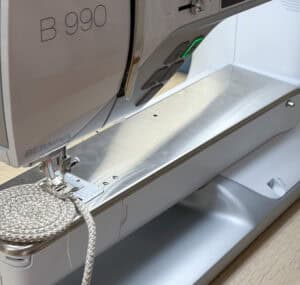
As soon as the base is large enough, it is lifted as sewing continues.
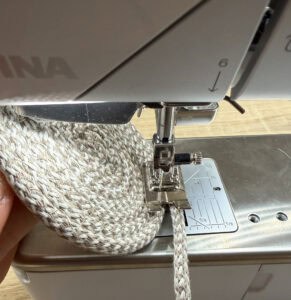
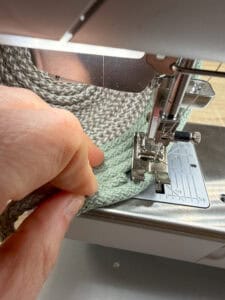
Leave the needle in the thread and slowly lift the bottom with your left hand. Position it as steeply as possible against the left side—or the machine head—of your sewing machine.
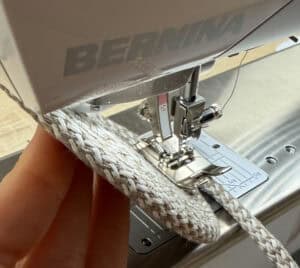
Continue sewing in this position. Keep the loose thread close to the previous stitch.
After just a few rounds, the rim begins to form upward. The angle at which you hold the base determines the final shape:
Continue sewing round by round until your basket is about 6 to 8 cm high.
You can also make the basket two-toned. Since my cord has a polyester core inside, I pull it out and trim it by about 3 cm.
Then I pull the rope back. I do this at the end of my first rope and at the beginning of my second rope loop. That way, I can simply lay the ends on top of each other, press them flat against each other, and continue sewing the rope in place.
Continue sewing your basket until it reaches the desired height.
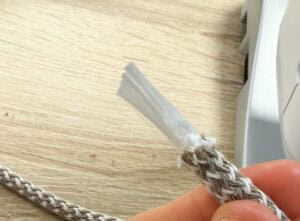
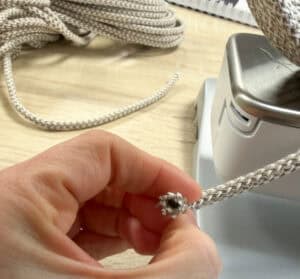
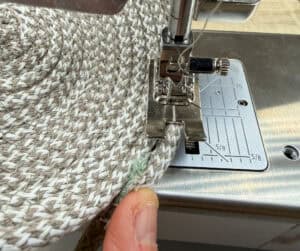
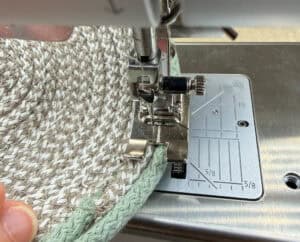
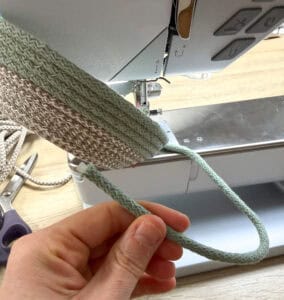
Once you’ve reached the desired cup height, we need a nice way to finish off the rope. I decided to make a quick loop here:
Cut the rope at an angle about 8 to 10 cm before the desired end point. An angled cut makes the end look less abrupt. Alternatively, if you have a rope with a polyester core like I do, you can trim the inner core by a few centimeters.
Place the end of the rope flat, with a small loop, between the last and second-to-last loops of the rope. Sew slowly over it and secure the end with several forward and backward stitches until the end of the rope is firmly sewn between the layers. If necessary, reduce the stitch length to create a tighter zigzag stitch.
Alternatively, you can:
I love getting really creative with my baskets! Here are some ideas you can try with your baskets:
The top thread will be visible later, especially on the inside, and the bobbin thread on the outside. Therefore, take both thread colors into account in your design.
Your rope basket is now finished!
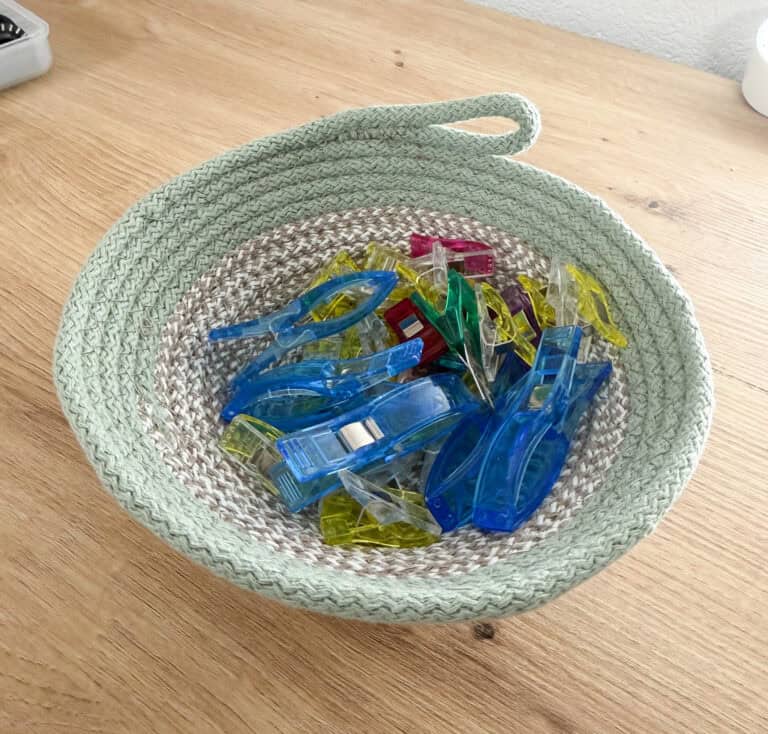
Isn’t this a great DIY project? I love working on it and all the creative possibilities it offers!
If you enjoyed the free book, feel free to check out my Instagram or Facebook page, or discover more sewing patterns in my shop!
Warm regards,
Sarah
To make sure your rope basket turns out nice and even and is easy to sew, I’ve put together my top tips for you here.
The zigzag stitch should always catch both adjacent strands of rope. If the needle catches only one strand, increase the stitch width; if your sewing machine cannot achieve the desired width, use a slightly thinner rope.
To prevent any gaps from forming, the new rope should always lie close to the previously sewn loop. Use the center of your presser foot as a guide and position it as precisely as possible over the junction between the two strands of rope.
To prevent the fabric from buckling, make sure it lies completely flat on the sewing surface while you sew. Do not pull on the cord, and let the sewing machine feed the fabric as evenly as possible. Also make sure the cord can be pulled through the sewing machine smoothly and that there are no knots.
As soon as you start sewing the sides, lift the bottom slowly and evenly. The steeper the angle, the straighter the sides of your basket will be. Be sure to keep the angle as constant as possible while sewing.
If your sewing machine has trouble feeding the cord, reduce the speed and check to see if there is enough space under your presser foot for the cord’s thickness. Very thick, stiff, or hard cords are not suitable for every household sewing machine.
Especially when sewing the small initial spiral, your fingers can quickly get too close to the needle. So sew slowly and keep turning the cord carefully. And yes… I speak from experience!
Do not force the basket through the machine by pulling or pushing it. Guide it gently and let the feed mechanism do the work.
Because the material is so stiff, the needle is subjected to greater stress during rope sewing. Therefore, check it periodically and replace it as soon as it becomes dull or bent.