Cutting Corners Design is now called Bags and Seams Design!

Author
Sarah is a successful pattern designer for bags, the founder of Bags and Seams Design, and a BERNINA instructor. With great passion, she helps beginners discover their enthusiasm for sewing bags. In her high-quality courses, she teaches the necessary skills step by step and ensures motivating sewing experiences with tangible results.
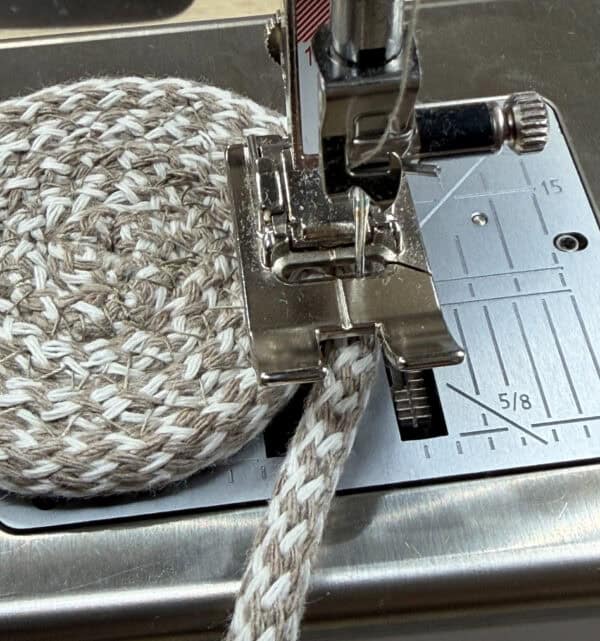
Cut the end of the cord straight across, roll the first few centimeters into a small spiral, and carefully slide it under the presser foot. The first few stitches will take a little patience. The spiral is small, the cord tends to unroll, and your fingers are working quite close to the presser foot.
Then begin the zigzag stitch, alternating between stitching into one loop of cord and then the next. The area slowly grows.
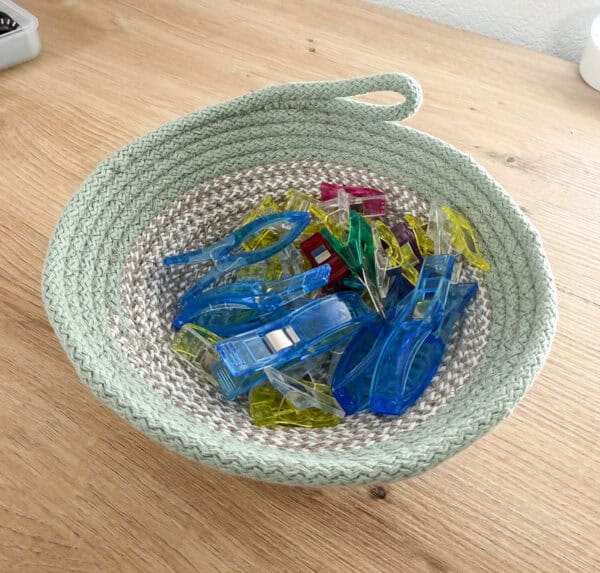
One round follows another. The small coil becomes a coaster, then a plate. As soon as you lift the piece and guide it toward the machine head, the project changes again: The flat bottom stands upright and develops side walls.
What sounds like meditation is actually a great creative technique: Suddenly, you’re no longer holding a sewn-together cord in your hand, but a small bowl.
“Rope sewing” can be translated as “sewing with rope” or “cord sewing.” Terms such as “zigzag rope sewing” or “zigzag rope” are also frequently used.
The basic principle is always similar:
A cord is coiled into a spiral. A zigzag stitch that is wide enough connects each new loop of the cord to the previous one. The needle alternately pierces both sides of the adjacent cords.
The rope forms the sturdy framework. The thread holds the individual loops together and also serves as a visible design element.
The modern machine-based method is reminiscent of the traditional spiral-coiling technique used in basket weaving. In this process, plant fibers or bundles of fibers are arranged in a spiral pattern and bound together with additional material. Such coiling techniques are known from various cultures and eras. For example, an Egyptian basket dating from around 2124 to 2000 B.C. was made from grass bundles arranged in a spiral pattern and wrapped with strips of palm leaves. Today’s rope sewing, however, is a modern, machine-based interpretation of the spiral construction method and not a direct continuation of any single historical tradition.
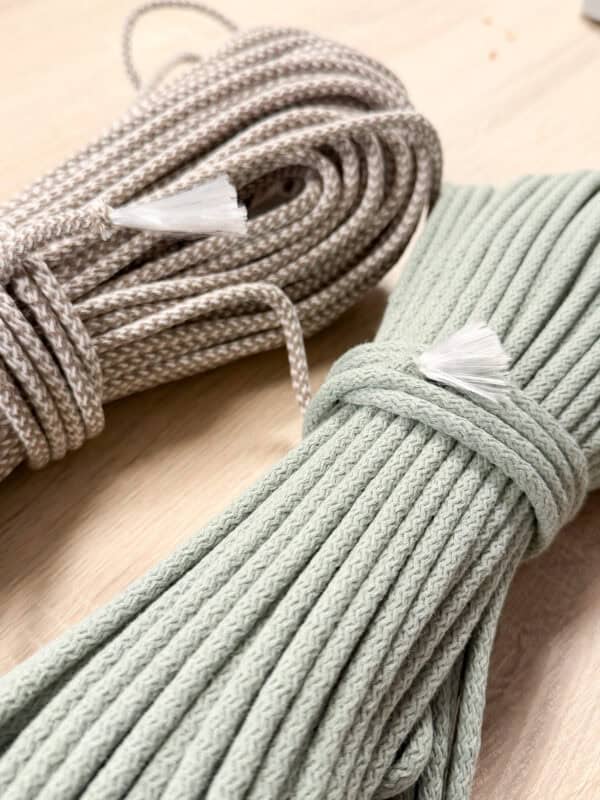
A soft cotton cord is the easiest choice for many projects.
Cotton has several advantages:
Cords made of cotton and synthetic fibers also work very well. Cotton cords with a polyester core are particularly suitable.
Pure polyester or other synthetic cords are also used for certain rope projects. However, they can be stiffer, smoother, or more slippery, and often have a shinier appearance than cotton. Not every synthetic cord is suitable for a household sewing machine.
Sew very slowly and watch to see if the needle pierces the fabric cleanly. If there is significant friction, the fabric is damaged, or the machine is visibly struggling to feed the fabric, you should stop and choose a softer cord.
Sisal, manila, and tightly twisted decorative cords are often too hard or too coarse for classic rope bowls. Such cords can cause the needle to veer off course, skip stitches, or put a heavy strain on the machine. A soft textile cord is much more suitable for beginners.
For your first attempts, I recommend using a cord that’s about 4 to 6 mm in diameter, since it’s easy to control. It’s thick enough for the shape to take form quickly, but it still fits well under a standard zigzag presser foot on many machines.
Thinner cord:
Before you start, check to see if the thread fits easily under the raised presser foot. You shouldn’t have to force it underneath.
It all depends on your project. For smaller baskets, you’ll only need a few meters. For large projects, you’ll definitely need 30–50 meters. If necessary, buy a little extra and use the leftover material to make small coasters or work on other small projects.
My personal favorite is a 6-mm cotton rope with a polyester core. You can pull out this inner core later, trim it, and use it to create flat, clean transitions or finishes.
For a simple project, you’ll only need a few materials:
Optionally, you can use fabric scraps, fabric markers, fabric paint, labels, or different colors of yarn for decoration.
Rope sewing uses significantly more thread than a normal fabric seam. The zigzag stitch runs the entire length of the project and connects each individual loop.
For larger baskets, it’s a good idea to prepare several bobbins of thread before you start.
The right needle depends on the cord, its thickness, and your machine. For larger cord projects, sturdy needles in sizes 90/14 or 100/16 are often used.
A denim needle can be helpful for thicker cord because its shaft is sturdier. For soft, loose cotton cord, a universal needle may be sufficient, depending on the machine.
It’s important to do a test seam. When doing so, check the following:
If you hear unusual noises, feel strong resistance, or notice the needle bending, you should stop immediately.
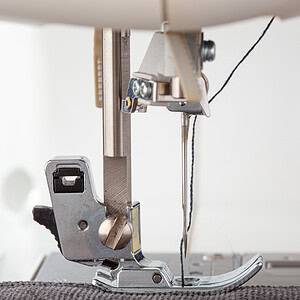
You’ll need a presser foot with an opening wide enough for the zigzag stitch. A standard reverse-feed, zigzag, or open embroidery foot is usually suitable.
An open or transparent presser foot can be especially handy because it helps you see the center between the two loops of the cord more clearly. The center of your zigzag stitch should run exactly along this connecting line.
A center mark on the presser foot helps you align the seam evenly. If possible, enable the feature that keeps the needle in the thread when you stop sewing. That way, nothing will shift out of place while you’re sewing.
There is no one-size-fits-all setting. It depends on the cord thickness, the yarn, the machine, and the desired look.
To start, you can choose a wide, not-too-dense zigzag stitch. Test this out on a scrap piece of fabric.
The stitch must be wide enough to securely hold both cords in the center:
If the stitch is too narrow, the loops will not be connected reliably. If it is set to be extremely wide and short, a dense satin stitch surface will form, which uses a lot of thread and can make the project stiffer.
A tight satin stitch, on the other hand, is well suited for providing additional reinforcement at the beginning, end, or handle areas.
Cut the end cleanly and as straight as possible. If you’re using a cotton cord, you can trim back any loose fibers a little.
Roll the end tightly into a small spiral. The first few turns should be right next to each other and as flat as possible. Secure the spiral with a pin if necessary.
Be sure to remove the pin before sewing. Never sew over a pin.
Place the small spiral under the presser foot and sew carefully over it. You can start by securing the center with a few straight stitches or a small cross.
The beginning is the most challenging part. Sew slowly and keep your fingers to the side of the needle.
Set the machine to a wide zigzag stitch and position the point where the cords meet directly under the center of the presser foot.
Slowly sew all the way around. Bring the new cord right up against the previous round without pulling it too tight or pressing it in.
Continue stitching round by round until the base reaches the desired diameter.
Make sure the surface lies flat. If it starts to ripple, you may have pulled the outer cord too tightly. If the bottom curls inward like a bowl, the cord may have been pulled too tight.
The rope should be loosely but continuously attached to the previous loop.
Now it’s time to create the actual shell. As you sew, slowly lift the bottom toward the machine head.
The angle determines the shape:
Keep the angle as constant as possible. If you change it while sewing, the shape will become wider, narrower, or wavy. These changes can be used intentionally as a design element.
Once your project has reached the desired height, cut the cord, leaving a little extra length.
You can see the ending:
Sew over the edge several times to make sure it doesn’t come undone later.
Many right-handed women place the completed section to the left of the needle and feed the loose cord in from the right. This keeps the work in progress on the open side of the machine and prevents it from bumping into the machine body as quickly.
What matters most is not so much the theoretically correct direction as a position where you can guide the cord with control and have enough space for the growing workpiece.
Test the pattern with a small coaster before you start on a large basket.
To make an oval basket, don’t start with a round spiral. Instead, fold a straight piece of cord in half and sew the two ends together.
At the end, guide the cord back in a tight curve. Then sew round after round around the long center as usual.
The longer your initial straight section is, the more elongated the base will be. A short starting section results in a gentle oval, while a longer starting section results in a distinctly elongated basket.
Sew the first curves slowly. Make sure the cord lies flat and doesn’t twist.
For integrated handles, sever the connection between the existing basket rim and the new cord.
First, secure the zigzag stitch with short backstitches or a tight satin stitch. Then guide the cord in an arc through a sufficiently large opening and resume sewing.
On the opposite side, make the second handle at the same height and length.
In the next few rounds, sew the extra cord over the handle loops as well. This will make them more sturdy.
Mark both handle positions in advance. This will ensure that the openings are as symmetrical as possible later on.
One particularly attractive variation is to wrap narrow strips of fabric around the cord.
The following are suitable for this:
Wrap the fabric around the cord so that the layers overlap slightly, and then sew it in place as usual. You can wrap the entire cord or just decorate individual sections.
This creates areas of color, stripes, and irregular accents. At the same time, even very small fabric scraps can be put to good use.
Don’t cut the strips too wide. Too many layers of fabric will make the cord thicker and may make it harder to feed under the presser foot.
A large basket consists of many meters of zigzag stitches placed close together. That’s why it’s a good idea to have several bobbins ready. At the same time, this technique is perfect for using up individual leftover bobbins and unusual yarn colors.
The yarn remains visible on the surface. You can therefore use it intentionally in your designs:
Keep in mind which side will be on the inside and which will be on the outside. With a rope bowl, the top thread is mostly visible on the inside, and the bottom thread is visible on the outside.
Change the yarn color after a certain number of rounds. This creates a controlled ombré effect.
To ensure a smooth transition, you can, for example, switch to the next color after every four or six rounds.
A natural-colored cotton cord can be decorated with suitable fabric dye before or after sewing.
Possible effects include:
Test the dye on a scrap piece. It shouldn’t harden the cord so much that the needle can barely pass through it later.
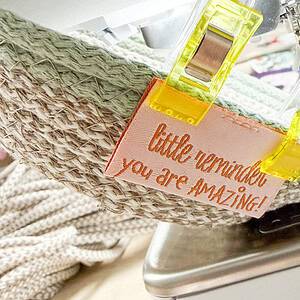
A small label, a scrap of leather, or a SnapPap element can be attached to the end of the cord or to the outside.
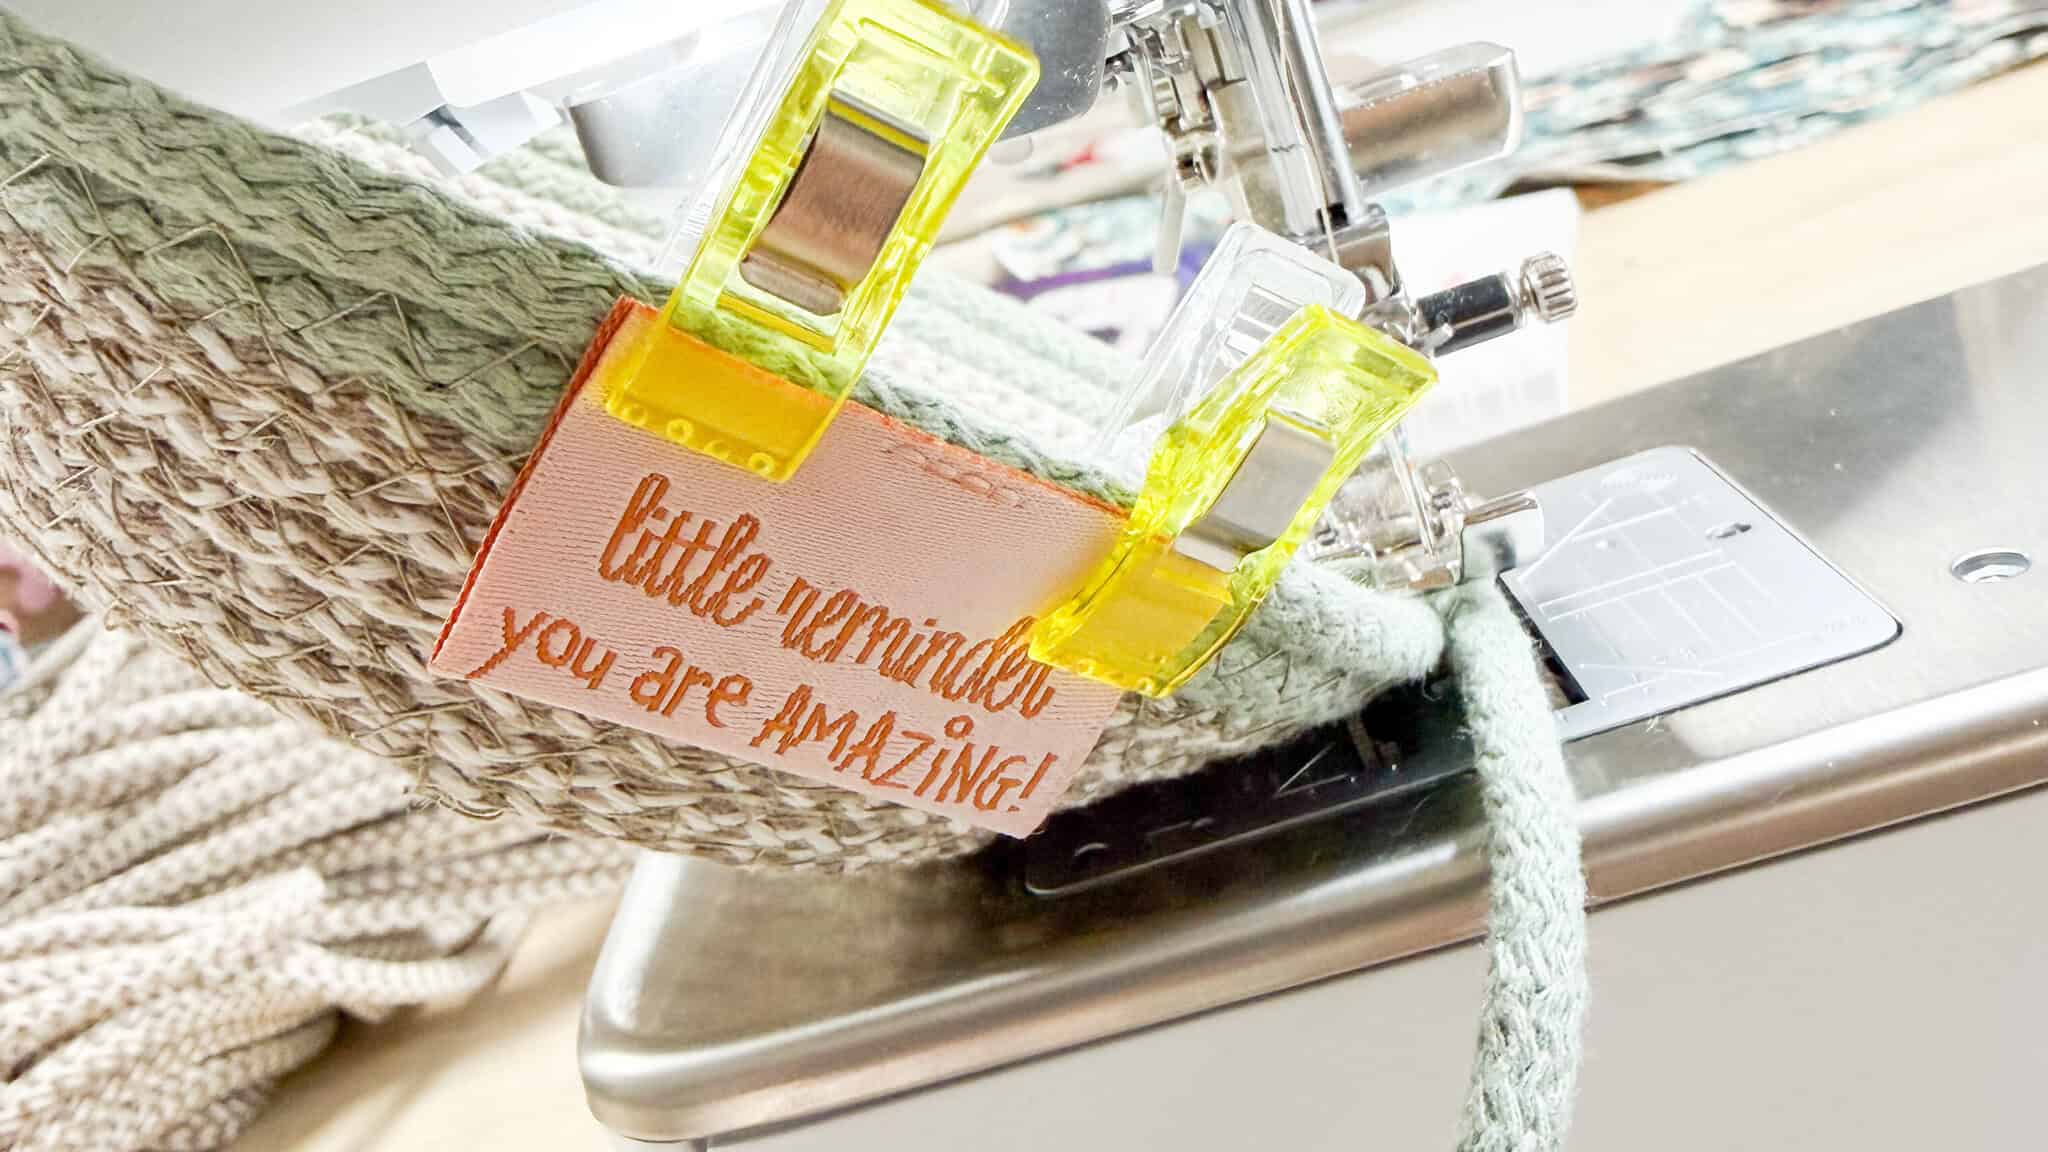
When working with stiff materials, be careful not to sew through too many layers of cord, label, and thread at once. Sometimes it’s easier to sew the label on by hand.
In that case, the zigzag stitch probably didn’t catch both cords securely.
Check:
You can sew over a single missed spot again. Larger gaps should be corrected as soon as possible, since repairs made later may be more noticeable.
Waves often form when the new cord is pressed too tightly into the circle. This results in more length at the outer edge than the surface can accommodate.
Let the cord run freely and avoid actively pushing it forward.
If the cord is pulled too tightly while sewing, the bottom may shrink. Make sure the loose end of the cord is not under tension.
So don’t just unroll a small piece from a fixed roll. Place the amount of cord you need loosely in a basket or on the floor so that it can unravel without any tension.
The angle was probably adjusted while shaping the sides. Try to keep the project consistent throughout each round.
However, minor irregularities are part of the handmade character and do not need to be completely corrected.
Stop immediately and turn off the machine.
Possible causes include:
Never pull the basket out from the side under the needle. This will cause the needle to veer off course and may cause it to break.
Slow down and check to see if the cord fits easily under the presser foot.
With large baskets, the weight of the project can also pull on the presser foot. Support the basket on the table instead of letting it hang freely.
Many simple rope bowls can be sewn using a standard household sewing machine and make a great project for beginners.
Nevertheless, not every combination of machine and rope is suitable. A small machine requires significantly less effort when working with a soft 4-mm cotton cord than when working with a large basket made of dense, stiff 8-mm cord.
Keep an eye on your machine:
Rope sewing shouldn’t turn into a battle of strength between you, the material, and the machine.
Rope Sewing demonstrates just how versatile a sewing machine can be. Using a simple cotton cord, thread, and a zigzag stitch, you can create sturdy and unique items for everyday use.
To get started, you don’t need a complicated pattern or any special supplies. All you need is a suitable soft cord, the right needle, a properly adjusted stitch width, and a little patience for the first few rounds.
Start with a small coaster. Once you’ve gotten the hang of working with the cord, you can raise the base, shape the sides, and experiment with different yarns, fabric scraps, and finishes.
And before you know it, your sewing table might no longer have just a roll of rope on it, but a whole stack of bowls and baskets you’ve sewn yourself.