Cutting Corners Design is now called Bags and Seams Design!

Author
Sarah is a successful pattern designer for bags, the founder of Bags and Seams Design, and a BERNINA instructor. With great passion, she helps beginners discover their enthusiasm for sewing bags. In her high-quality courses, she teaches the necessary skills step by step and ensures motivating sewing experiences with tangible results.
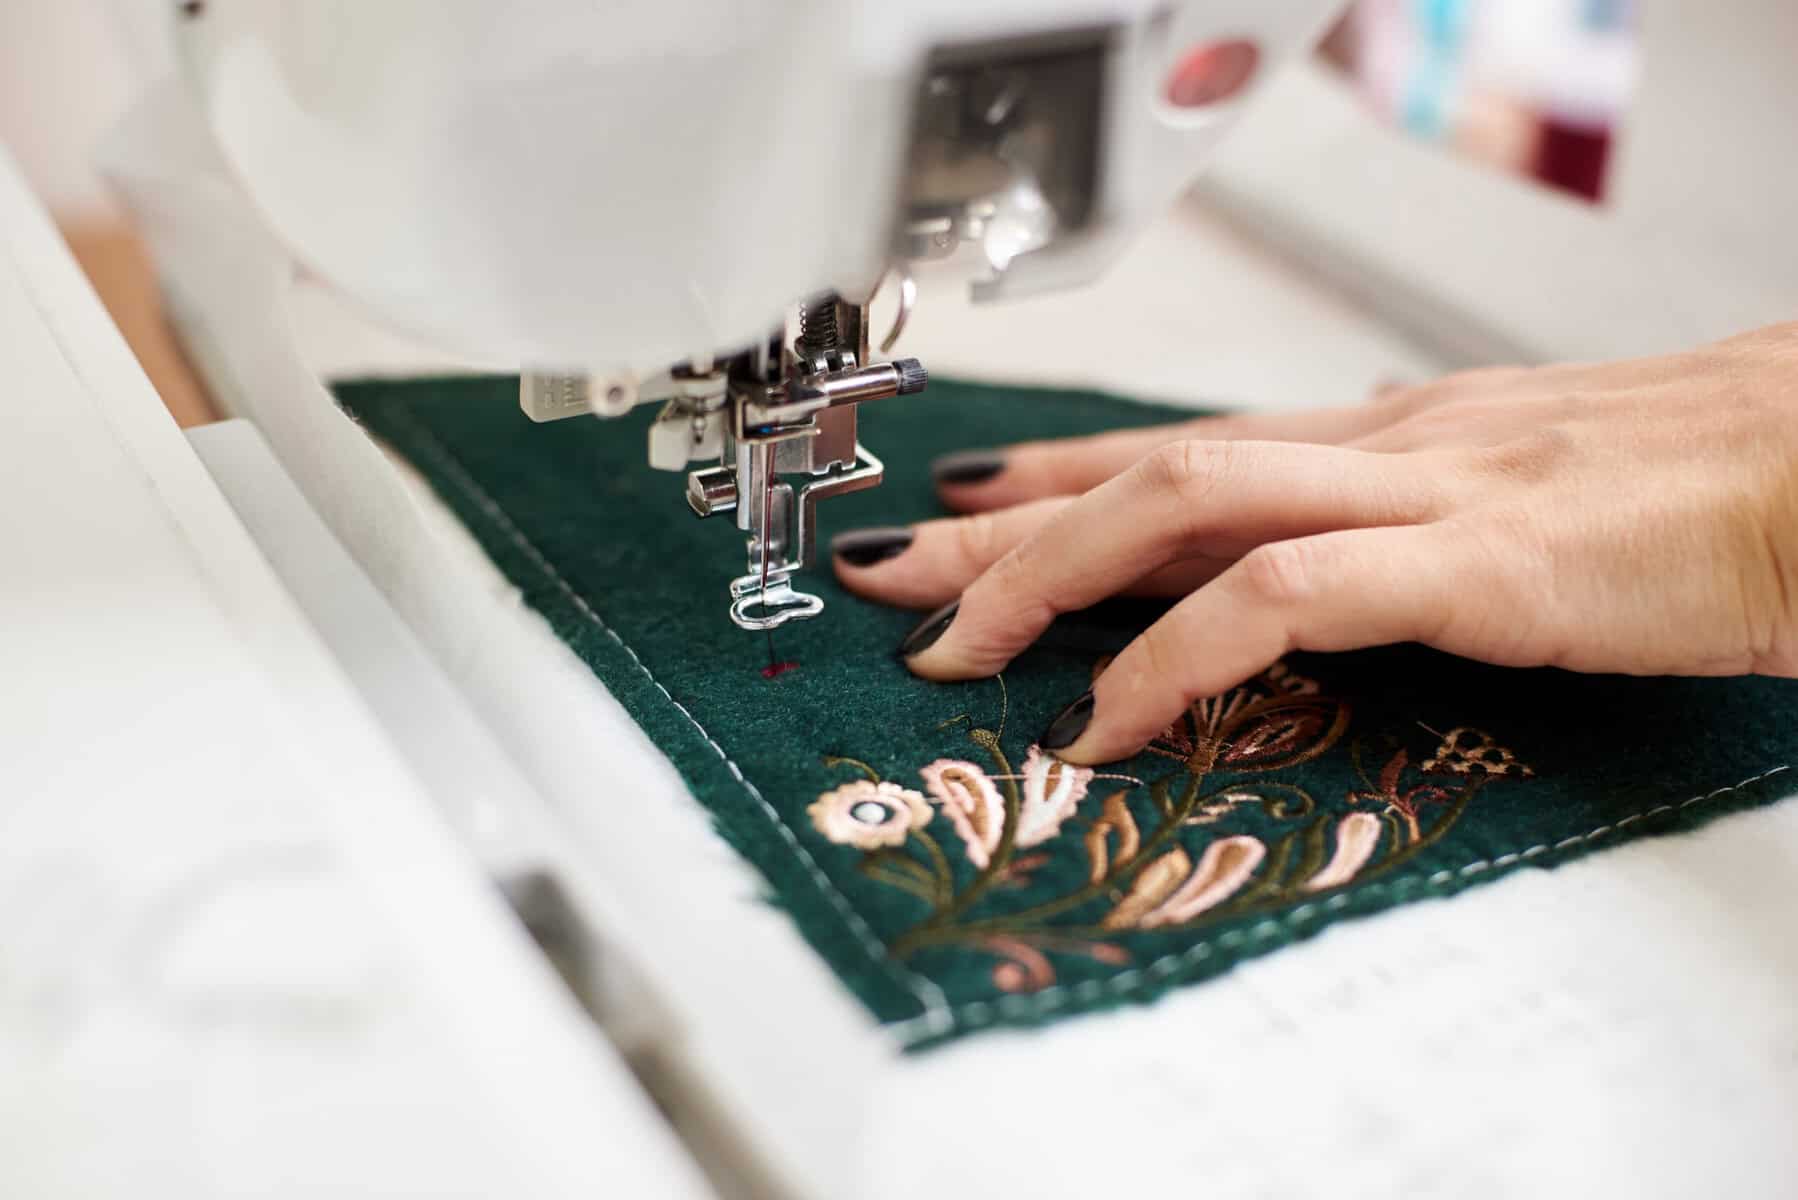
In machine embroidery, an embroidery machine automatically converts a digital embroidery file into stitches. To achieve a clean result, in addition to the machine, you’ll need, above all, the right embroidery thread, bobbin thread, a suitable needle, an embroidery hoop, and an embroidery stabilizer that’s right for your fabric.
Embroidery is a great way to decorate fabric and personalize your sewing projects, especially when it comes to bags.
In machine embroidery , a digital embroidery design is transferred onto fabric by a computer-controlled embroidery machine. The embroidery file contains more than just the visible outline of the design. Among other things, it instructs the machine to:
This is what makes machine embroidery very different from sewing.
When sewing, you usually guide the fabric under the presser foot yourself. With computerized embroidery, however, the fabric is held in an embroidery hoop. The machine automatically moves this hoop according to the information in the embroidery file.
A well-digitized embroidery file is therefore more than just an ordinary image. A JPG, PNG, or SVG graphic cannot be embroidered automatically by every embroidery machine. It must first be converted into a machine-readable embroidery design using digitizing software.
The basic procedure is similar for most home embroidery machines:
1. Select a suitable embroidery file.
2. Transfer the file to the embroidery machine via USB, Wi-Fi, an app, or a software connection.
3. Secure the embroidery stabilizer and fabric in the embroidery hoop, or attach the material to a clamped adhesive stabilizer.
4. Thread the embroidery thread and bobbin thread.
5. Position the design on the machine’s display.
6. Check the size, alignment, and embroidery area.
7. The machine embroiders the design color by color.
8. Finally, remove the hoop, excess embroidery stabilizer, and any loose threads.
The embroidery stabilizer prevents the fabric from shifting, stretching, or shrinking during embroidery.
Especially when working with stretchy, lightweight, loosely woven, or warping-prone fabrics, you should not embroider without adequate stabilization.
Die Farbdarstellung einer Stickdatei auf dem Computer oder auf dem Display der Stickmaschine ist nur eine Vorschau. Meistens sind es Beispielfarben, die von dir je nach Wunsch aber auch nach Aufbau anders gewählt werden müssen.
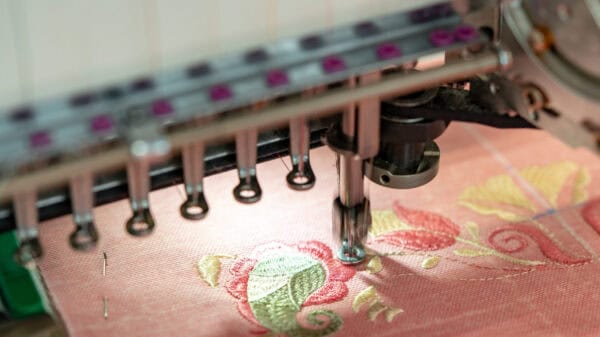
For machine embroidery for beginners, you can use a dedicated embroidery machine or a combined sewing and embroidery machine.
A dedicated embroidery machine is designed exclusively for embroidery. A combination machine can both sew and embroider. Which type is better suited depends on the projects you want to tackle and whether you already own a sewing machine.
When choosing an embroidery machine for beginners, the following features are particularly helpful:
An embroidery area of about 10 × 10 centimeters is sufficient for small designs, labels, and monograms. If you plan to regularly machine-embroider larger designs, decorate bag flaps, or use extensive lettering, a larger embroidery area offers more freedom.
When it comes to bags, it’s not just the machine’s performance that matters. It’s also important that the item to be embroidered can be positioned flat and unobstructed on the machine arm.
A free-arm function or special embroidery hoops can be helpful when working with bags that have already been sewn together. For beginners, however, it is much easier to embroider a single pattern piece first and then sew the bag together.
The embroidery hoop holds the fabric and stabilizer in place during the embroidery process.
If possible, use the smallest frame that fits the subject with a sufficient safety margin. An unnecessarily large frame can make stabilization more difficult.
The fabric should be stretched taut and secure, but must not be overstretched. Highly elastic materials may shrink back after being removed from the frame, causing the embroidery to become distorted.
When clamping the fabric, leave it in its natural, relaxed position.
Not every material needs to be clamped directly. Thick, delicate, or hard-to-reach workpieces can be secured to an adhesive mat that is already clamped in place. This method is often referred to as “floating.”
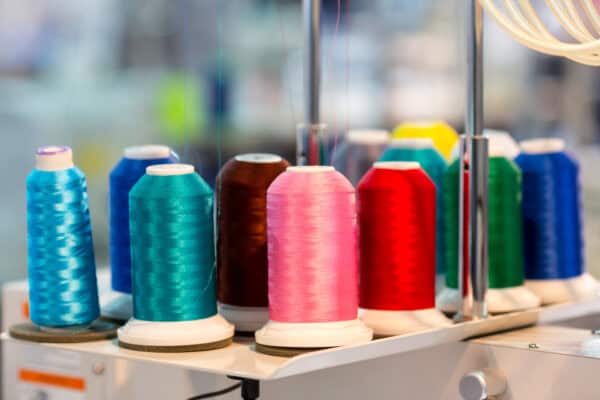
Machine embroidery thread is smoother and often shinier than traditional sewing thread. The most common types include polyester, viscose (or rayon), cotton, and metallic thread.
Polyester embroidery thread is durable, colorfast, and relatively hardy. It is well-suited for frequently washed textiles, children’s clothing, bags, and everyday items.
Viscose or rayon embroidery thread is characterized by a particularly beautiful sheen. It is very popular for decorative embroidery, but can be more sensitive to friction or heavy wear.
Cotton embroidery thread has a more subdued and natural look. It is often used for traditional, rustic, or deliberately handcrafted-looking designs.
Metallic thread creates shimmering effects, but often requires a special metallic needle, a reduced embroidery speed, and adjusted thread tension.
A widely used standard is size 40 embroidery thread. However, always follow the thread manufacturer’s instructions and the recommendations for the specific embroidery file.
The bobbin thread is in the bobbin and, together with the upper thread, forms the embroidery stitches.
Special embroidery bobbin thread is usually finer than the top thread used for embroidery. This makes the back less bulky and keeps the embroidery more supple.
White or black bobbin thread is used in many embroidery projects. For freestanding designs or projects where the back remains visible, a bobbin thread in a matching color may be a good choice.
When choosing the bobbin thread, follow the machine manufacturer’s recommendations.
Embroidery needles usually have a larger eye than standard all-purpose needles. This reduces the strain on the embroidery thread when it passes through quickly.
A sharp, undamaged needle reduces thread breaks, missed stitches, and uneven contours.
For standard embroidery floss and medium-weight woven fabrics, a size 75/11 or 80/12 embroidery needle is often a good starting point.
The optimal needle depends on four factors:
For tightly woven and heavy denim fabrics, a denim needle may be useful. Denim needles have a reinforced shaft and are designed for dense fabrics.
For faux leather, a sharp Microtex, denim, or leather needle is often used, depending on the material composition.
A standard leather needle cuts small holes in the material. This can be helpful with genuine leather, but it can cause visible holes or tears in coated synthetic leather. That’s why it’s especially important to do a test stitch on a scrap piece first.
Choosing the right embroidery backing is one of the most important basics when learning machine embroidery.
It stabilizes the material and prevents the embroidery from distorting the fabric or causing it to pucker. There are several different types:
Tear-away embroidery backing is carefully removed from the design after embroidery. It is particularly suitable for sturdy, non-stretch woven fabrics and less dense embroidery patterns.
A simple rule of thumb for beginners is this: Tear-away stabilizer can often be used with stiff woven fabrics. Stretch fabrics, on the other hand, usually require permanent stabilizer.
This rule is just a starting point. The embroidery backing must always be adjusted to the fabric, the size of the design, and the stitch density.
The cutting backing remains permanently behind the embroidery and is simply trimmed away around the motif after embroidery is complete.
It supports the embroidery even after several washes.
Cutting mat is particularly suitable for:
Water-soluble embroidery stabilizer is removed with water after embroidery.
It is used for freestanding lace, sheer fabrics, and projects where the embroidery stabilizer should not remain visible.
Adhesive fleece is useful when a workpiece cannot be clamped directly.
Stretch the embroidery backing fabric onto the hoop, remove the protective layer, and place the material on the adhesive surface.
This method is suitable, for example, for:
A thin, water-soluble film is placed on top of the fabric.
It prevents stitches from sinking into high-pile or heavily textured fabrics. A topping is especially useful for terry cloth, fleece, velvet, knit fabrics, or coarse canvas.
In addition to the basic equipment, the following tools are useful:
Use spray adhesive sparingly and according to the manufacturer’s instructions. Test it on a scrap piece first, as delicate or coated materials may develop stains.
An embroidery file is a data file containing embroidery information.
Among other things, it includes stitch positions, color changes, and movements of the embroidery hoop. The design was first digitized—that is, prepared for execution by an embroidery machine.
The quality of embroidery, therefore, does not depend solely on the machine, thread, and fabric. The technical quality of the digitization is also crucial.
A poorly structured embroidery file can lead to the following problems:
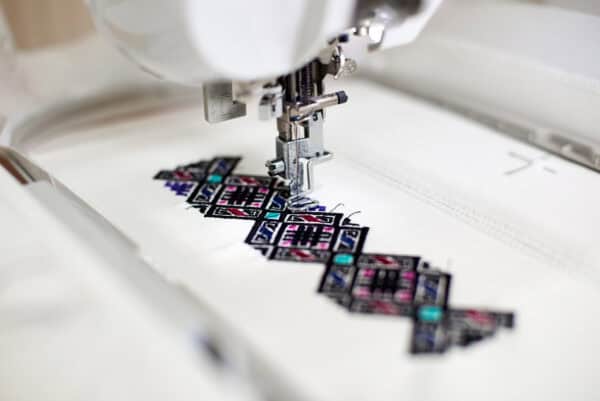
An embroidery machine doesn't simply work through a design from top to bottom. The order of the areas, outlines, and details is determined when the embroidery file is created. Well-digitized embroidery files often begin with stabilizing backstitches and work on larger areas before moving on to small details or outlines. This sequence helps stabilize the fabric and reduce shifting within the design. That is why two embroidery files that look similar can produce very different results on the same fabric. The quality of the digitization is at least as important as the quality of the thread and the machine. This order helps stabilize the fabric and minimize shifts within the design. That is why two visually similar embroidery files can produce very different results on the same fabric. The quality of the digitization is at least as important as the quality of the thread and the machine.
Embroidery machines from different manufacturers use different file formats.
Common formats include:
The user manual for your specific machine is always the authoritative source. Not every machine from a given manufacturer automatically supports the same formats.
Be sure to check the instruction manual for your sewing machine anyway. Older machines, overlock machines, coverlock machines, and industrial machines in particular may require different needle systems.
Choosing the right type of needle alone is not enough if the needle system does not fit the machine.
Before you buy an embroidery file or start downloading one, check the following:
1. Is the file format required by your machine included?
2. Does the design size fit in your embroidery hoop?
3. Is a color list included?
4. Are there details on stitch count and color changes?
5. Are there recommendations for materials and stabilizer?
6. Is the design suitable for beginners?
7. Are you allowed to sell products made with this design?
8. Are you allowed to modify the file?
9. Can the digital file be shared with others?
A purchased license does not normally entitle you to share, give away, or resell the original file.
Check the license terms of the respective store. Even free embroidery files may be subject to restrictions on commercial use.
For your first project, sturdy cotton fabric, canvas, or a simple bag pattern are good choices.
Choose an embroidery file with low density and few color changes.
Check the file format, design size, and embroidery hoop size.
Start with a clear design that doesn’t include extremely small text, intricate details, or large solid-color areas.
Pre-wash the fabric if the finished project will also need to be washed.
Iron the fabric until it’s smooth, and mark the center of the desired design.
When cutting out bag pieces, be sure to account for the seam allowance and the eventual placement of zippers, flaps, handles, or outside pockets.
For sturdy cotton or canvas, start by using a medium-weight tear-away or cutting fleece.
The denser and larger the design, the more stability is required.
Place the embroidery backing and fabric in the hoop, making sure there are no wrinkles.
Do not pull the fabric apart unnaturally. The material should lie flat but retain its natural shape.
If you’re working with faux leather or very thick canvas, it’s best to just stretch a self-adhesive embroidery stabilizer and secure the fabric to it.
If necessary, secure it outside the embroidery area with basting stitches or suitable tape.
Insert a new, appropriate needle.
Thread the upper and lower threads according to your machine’s instructions, and attach the embroidery hoop.
Check to make sure there are no layers of fabric, cables, tools, or other objects within the embroidery frame’s range of motion.
Check the following on the display:
If available, use the outline or frame test function. This causes the machine to trace the outer edge of the embroidery area without actually embroidering the design yet.
This is how you can check whether the image is within the designated area.
Embroider the design on a scrap of fabric using the same fabric, embroidery backing, thread, and needle combination.
Only then will the test reliably show how the actual project will perform.
When doing a test run, check the following:
Start the machine and pay close attention to the first few stitches.
Do not reach into the area around the embroidery hoop while embroidering. Do not pull on the fabric, and do not try to guide the hoop while embroidering.
Change the thread color when the machine prompts you to do so.
Remove the frame from the machine and carefully remove the workpiece.
Remove the tear-away stabilizer from the outside in to prevent the embroidery from warping. Trim the permanent embroidery stabilizer, leaving a small margin around the design.
Remove any loose threads and, if necessary, carefully iron the embroidery from the back.
Keep in mind that yarn, fabric, and faux leather are sensitive to temperature.
In general, a wide variety of fabrics can be embroidered.
However, for each material, the combination of embroidery file, needle, stabilizer, thread, and hooping method must be just right.
Heavyweight cotton woven fabric is ideal for beginners.
It frames well and warps relatively little. Depending on the design, use either tear-away or cut-away embroidery stabilizer.
Canvas is ideal for bags, storage containers, and home decor items.
Since the fabric is sturdy, it is usually easy to embroider on. Nevertheless, you should use embroidery stabilizer to prevent the fabric from shrinking when working with dense designs.
With coarse canvas, a water-soluble film on the top side can prevent fine contours from disappearing between the fabric fibers.
Denim is easy to embroider, but it’s very thick along the seams and in areas with multiple layers.
If possible, avoid embroidering directly over seam allowances, pocket edges, or other raised areas. For heavy denim, use a suitable jeans or embroidery needle and test the stitch quality.
Stretch fabrics require a durable cutting mat.
The fabric must not be stretched when clamping it in place. For heavily textured sweatshirt fabric, a water-soluble topping may also be useful.
With pile fabrics, stitches may sink into the material.
Use a sturdy embroidery stabilizer on the back and water-soluble embroidery film on the front.
Faux leather can be embroidered, but it requires careful preparation.
Every stitch remains visible permanently. Therefore, a flawed embroidery cannot simply be unpicked and re-embroidered.
Use a design that isn’t too dense, reduce the embroidery speed if necessary, and, if possible, avoid stretching the faux leather directly into the frame.
A self-adhesive embroidery backing or a sparing use of temporary spray adhesive can help prevent pressure marks.
Very fine details, extremely dense filled areas, and contours that have been embroidered over multiple times can cause the material to tear.
A design with open spaces, appliqué elements, or a moderate stitch density is often the better choice.
Possible causes include embroidery stabilizer that is too thin, a very dense embroidery file, fabric that has been stretched too much, or improper thread tension.
Use a sturdier stabilizer and test the design. Never stretch elastic fabrics while stitching.
Check to see if the machine is threaded correctly, if the needle is damaged or dull, and if the thread can run freely off the spool.
Excessive thread tension or an improper needle can also cause the thread to break.
This may indicate that the upper thread tension is too high, that the bobbin thread is not threaded correctly, or that the thread combination is unsuitable.
Threading the machine completely from scratch before making any major adjustments.
This so-called registration problem can be caused by insufficient stabilization, poorly secured fabric, or an incorrectly digitized embroidery file.
Do a test stitch, and if necessary, use a sturdier stabilizer.
Possible causes include a damaged or incorrectly inserted needle, an incompatible combination of needle, fabric, and thread, or embroidering over areas that are too thick.
Never pull or push on the embroidery hoop while the machine is running.
A very high stitch density, multiple layers of heavy embroidery backing, or a design that isn’t suitable for the fabric can make the embroidery stiff.
Use a lighter or more open digital image and only as much stabilization as necessary.
In machine embroidery, an embroidery machine reads a digital embroidery file.
This contains information about stitch positions, stitch types, and color changes. The fabric and stabilizer are secured in an embroidery hoop. The machine then automatically moves the hoop and embroiders the design step by step.
The best way to learn machine embroidery is with simple designs on sturdy cotton or canvas.
Beginners should start by practicing hooking the fabric, selecting the embroidery backing, threading the needle, and positioning the design. A test stitch using the same materials as the main project helps identify mistakes.
An embroidery machine for beginners should be easy to use and feature a clear display, a threading aid, and simple file transfer capabilities.
Also, make sure the frame size isn’t too small in case you want to embroider larger files later on.
The basic equipment includes an embroidery machine, matching embroidery hoops, machine embroidery thread, embroidery bobbin thread, embroidery needles, embroidery stabilizer, embroidery scissors, and a compatible embroidery file.
Marking tools, temporary spray adhesive, tape, and replacement spools make the job easier.
Heavyweight cotton fabrics and canvas are particularly well-suited for beginners.
Jeans, jersey, sweatshirt fabric, terry cloth, felt, and faux leather can also be embroidered. The key is using the right embroidery stabilizer, a suitable needle, and an embroidery file with a stitch density that matches the material.
For standard embroidery thread and medium-weight woven fabrics, an embroidery needle in size 75/11 or 80/12 is often suitable.
You may need a denim needle for jeans, a metallic needle for metallic thread, and a Microtex or leather needle for some types of faux leather.
You should always test the combination on a scrap piece first.
For sturdy, non-stretch cotton woven fabrics, tear-away embroidery stabilizer is often sufficient for a simple design.
For larger, denser, or heavily used embroidery designs, cutting fleece provides greater stability.
When purchasing an embroidery file, be sure to check your machine’s format, the design size, the required hoop size, and the license terms.
Good offers include multiple sizes, a color chart, material specifications, and an overview of supported file formats.
Yes. So-called “in-the-hoop” files can be used to create small bags, pouches, or tags largely within the embroidery hoop.
In addition to decorative stitches, the file also includes placement and construction stitches. Beginners should use a detailed, illustrated guide and carefully check which frame size is required.
A test stitch shows whether the fabric, embroidery stabilizer, thread, needle, thread tension, and embroidery file are all compatible.
It helps identify wrinkles, thread breaks, misaligned contours, or an inappropriate stitch density before the actual workpiece is embroidered.
Die Farbdarstellung einer Stickdatei auf dem Computer oder auf dem Display der Stickmaschine ist nur eine Vorschau. Meistens sind es Beispielfarben, die von dir je nach Wunsch aber auch nach Aufbau anders gewählt werden müssen.